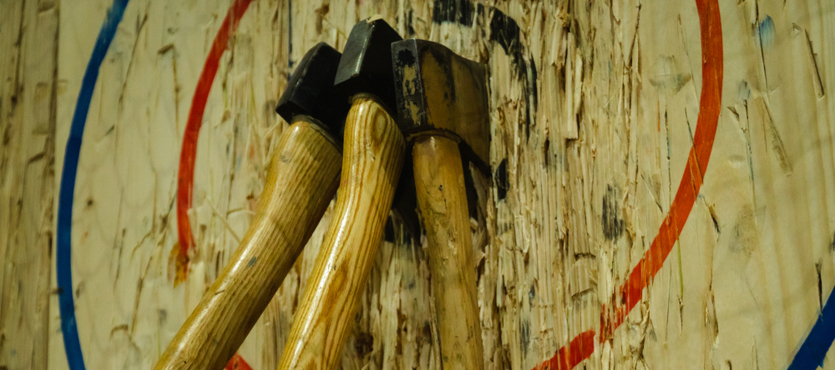
There are several different ways you can throw an axe, but the two main techniques utilized in the sport are one-handed and two-handed throws. In this article, we are going to go over tips for better aim when throwing an axe with two hands. That way you can play your best game yet the next time you visit Mazewood Axe Throwing in Niagara Falls. Remember, the key is to master your aim and practice throwing an axe as much as possible.
Knowing How Far Away to Stand
You want to stand at the right distance from your target, and the right distance for you is largely based upon your height. The typical distance between your target and the line that you throw from is 15 feet. One foot must remain completely behind the front line at all times. Your other foot can be extended as far back as you’d like. Just be careful that you can maintain your balance and comfort when throwing the axe from the position that you choose. We recommend playing around to find the most comfortable stance for you, everyone is different.
In addition, remember that shorter people should stand closer to the target, while taller individuals should stand farther from the target.
Mastering the Two-Handed Axe Throw
Get in your ready position with one foot behind the line.
Using your chalked hand, grab a firm hold of the axe at the bottom of the handle. Use your other hand to grip over the one holding the axe to form a good grip. For some people, it works better to place one hand over the other instead of placing one hand on top of the other. This is where practice comes in handy to find the most comfortable position for you.
Eye your shot and line up with it – focusing intently on where you want the axe to go.
Step forward and lift the axe above your head to throw it – make sure to do this in one smooth motion. Your movements need to be as fluid as possible for the best shot. Make sure your arms and body continue to move in the same direction, even after you’ve released the axe. And don’t forget, never take your eyes off the target!
When you lift the axe, make sure that it is raised directly over your head – it should never be more to one side than the other.
Keep your elbows locked and rotating over your shoulders to create an overstated semi-circle over your head. Try out this movement several times before you ever throw the axe, stopping the motion right when you’d otherwise release the axe. Don’t stop the motion before or after the point of release, but right on the money. That way you can build up muscle memory in your body, creating a more naturally accurate throw.
Pro Tips
Don’t let your thumbs stick out
If you notice your thumbs are sticking out, it’s time to make some adjustments. While this is a natural reaction for many people it will get in the way of your perfect aim. Make sure to fold your thumbs over your fist.
Don’t flip your wrists
Beginners tend to make a similar mistake – flicking their wrist right as they release the axe. It makes sense why people do it, after all, you want the axe to rotate. But flipping your wrists will not help this to happen even if logically it seems to make sense. Instead, it’s important to keep your wrists locked into a straight position. The shape of the axe is what causes it to rotate, no extra help is needed from you.
Moving your feet VS not moving your feet
If you watch different people throwing axes, you will notice that some people do not step forward or move their feet at all during the throw. On the other hand, some people do step forward or move their feet in different fashions when throwing the axe. This is something you need to play around with to find the most comfortable position for yourself. For beginners, it’s usually easiest to start off not stepping forward, but instead remaining still with one foot behind the line.